Whether you want to replace an old ceiling fan or upgrade a light fixture, it’s not that hard to install your own ceiling fan. If you already have a fixture in the spot where you want to hang your fan, then installing the fan will be a simple matter of doing some basic wiring and anchoring the fan itself to a joist. Follow these steps to install a ceiling fan yourself.
Table of Contents
Can I Install by my own?

Making an investment in a new ceiling fan is a practical way for savvy individuals to reduce their monthly energy bills without giving up comfort. A ceiling fan is an excellent weekend job for anyone interested in a good do-it-yourself project because it can even be done in one or two evenings, and the savings are tangible. If you’re anxious about whether your abilities can do a good job installing a fan, you may want to consult a professional.
What tools do I need to install ceiling fan?
Before you install a new ceiling fan, it’s better to lay out your equipment first. Discover a number of your equipment you’ll need here, and if you don’t have any of them, obtain the devices at a reasonably priced cost.
- Drill
- Screwdriver
- Level
- Tape Measure
- Hammer
- Safety glass
- Power Drill with a 9/64” bit.
- Voltage Meter.
Turn Off the Circuit

Photo by frontdoorhome.com
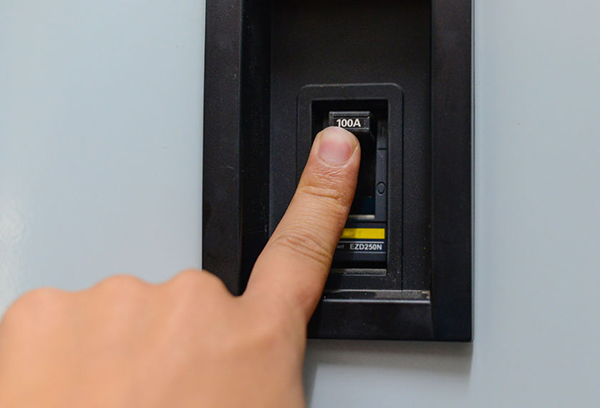
If you don’t turn off power to the circuit before you start working, you could get a nasty shock – it could even be lethal. Play it safe and avoid electrical shock by turning off the power to the circuit you’ll be working on at the breaker box. You can trying to turn on the light in the room where you’ll be working for double check that power is go down.
Read More : 20 + Kitchen Ceiling Ideas in 2022 Photos & Galleries
Take Down the Old Fixture
Now you can go ahead and take down the old fan or light fixture. Disconnect the wiring and set the old fixture aside.
Put in a Fan Brace

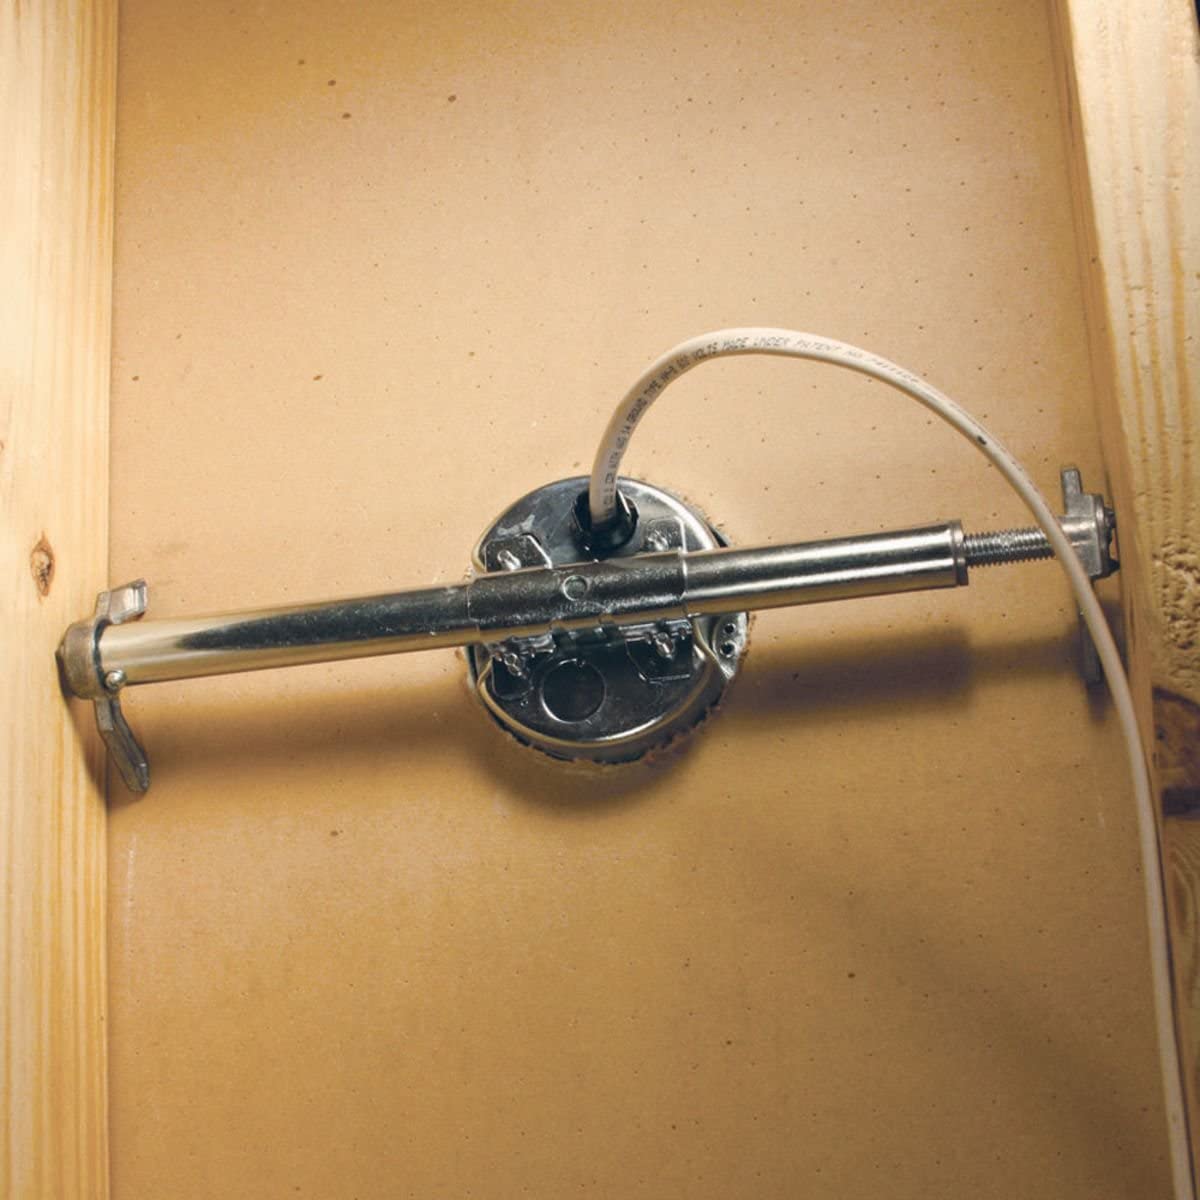
After that, you can go one of two ways when installing a fan brace. You can get into the ceiling from the attic above, if possible, and install a piece of two-by-four lumber in a perpendicular position between the joists, anchoring it in place with 1 1/2 -inch screws driven into the joists. Furthermore, if you need to install a brace from below, you can use an expanding metal fan brace that you can insert through the fan hole and then expand in the ceiling until the sharp points on either end are anchored securely in the joists.
Install a Fan-Rated Electrical Box
If you’re replacing a light fixture with a ceiling fan, chances are you don’t have the right kind of electrical junction box in your ceiling to support the weight of your fan. Moreover, ceiling fans are heavy – they can easily weigh more than 50 pounds. You need to make sure that you have a pancake electrical box rated for use with ceiling fans in your ceiling before you can proceed with the ceiling fan installation. The electrical box should be anchored either directly to the ceiling joist with 1 ½ -inch screws, or to the fan brace you installed. Pull the electrical wires from your house down through the electrical box and ground the wiring by wrapping the green or bare ground wire around the green ground screw in the electrical box.
Put Up the Mounting Plate and Downrod

Attach the mounting plate to the ceiling using the screws provided with your fan. Your fan should come with instructions that will clarify how the mounting plate should be attached to the electrical box and ceiling. After that, pull the wires through the mounting plate and feed them down through the downrod before setting the downrod following your fan’s installation instructions. If your fan doesn’t come with a downrod, just pull the wiring through the mounting plate and proceed.
Connect the Fan Motor Your Home Wiring
If your fan motors any assembly, put it together on the floor before climbing your ladder for the installation. There should be a hook on the mounting plate that will allow you to hang the fan motor while you work on the wiring. Attach the black wire from your ceiling to the black wire from your fan motor, the white wire to the white wire, and the green or bare wire to the green or bare wire. Connect the wires by twisting the copper ends together and securing the connections with wire nuts.
Fan Motor to the Fan Mounting Plate
Swing the fan motor up into position and attach it to the downrod or, if your fan doesn’t have a downrod, directly to the mounting plate using the screws provided.
Put on the Blades and Light Fixture
The fan blades should come with metal blade brackets to anchor them to the fan motor housing. Put the brackets on the blades, and then attach the blades to the fan motor.
The light fixture may need to be wired up in the same manner that the fan motor was – black to black, white to white, and green or bare to green or bare. However, it may just have a plug that plugs into the motor assembly. Once you have the wiring connected, put on the bulb covers and put in some light bulbs. Restore power to the circuit and make sure your new fan works, and enjoy the refreshing breeze it creates.