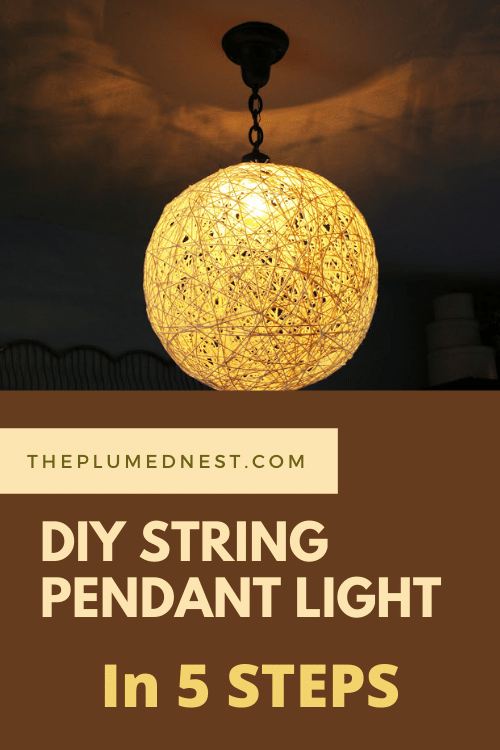
DIY String Pendant Light : I have seen these string pendant lights for sale for upwards of 500 dollars – now I don’t know if they use this method, but you can get the look for about 5 dollars and I like that. I saw a tutorial here a few years back and have been meaning to make once since. It’s good to place it in Kitchen, Living room, and Bedroom.
Table of Contents
What you need To Make String Pendant Light ?
- String (hemp/twine/yarn)
- Glue – 1 or 2 Large Bottles (white glue like elmers)
- Warm Water
- Cornstarch
- A circular mold (beach ball/balloons/yoga ball/other ball that you can deflate or puncture)
What do to Make String Pendant Light ?
Shopping
First you need to set up shop. If you are doing it indoors I suggest using a painters cloth or a cheap shower curtain liner to work on. I used a beach ball and decided to hang it while creating the pendent light – this was challenging. You might be able to do it on a flat surface, like a table, and it would more than likely be easier. The reason I didn’t was because I was afraid the shape would be compromised.
Make your paste
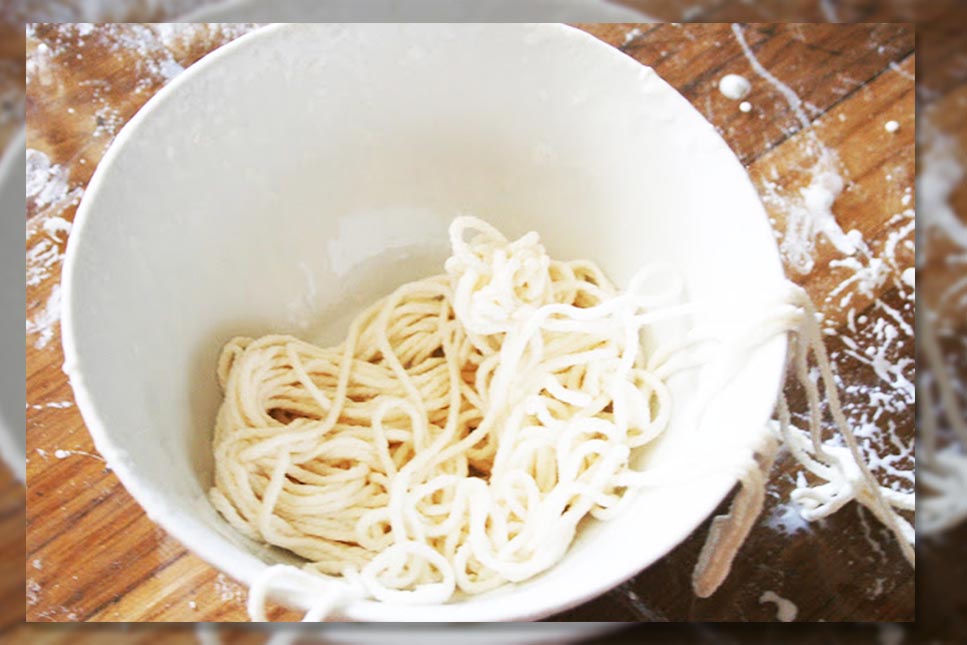
The glue obviously binds it and the cornstarch will “starch” it up and stiffen the string. You could also use a fabric stiffening liquid as well, but the paste is really simple to make so I went that route to save on cost. I didn’t measure when I mixed it all up, sorry! But I just dumped some glue in the bowl, added cornstarch in about equal measure and then gradually added warm water to get a liquid substance. I would say not as thick as yogurt but not thin like milk, somewhere in between. Then whisk it up. I had some small cornstarch chunks in my mixture and it turned out fine, so if you do too, no worries – you can “pull off” the extra chunks and liquid as you start stringing.
Start stringing!
I made a little tie at the top of my beach ball valve to tie on the first bit of string. At first I cut my string in lengths, but that was a bad idea! After I realized that wasn’t going to work I pulled my yarn ball and separated it in two piles, then i just dunked it in the bowl and soaked it with the mixture (be careful not to get it tangled though and keep ahold of one end of the string for a starting place.). I also squeezed out the excess after I dunked it and repeated as needed.
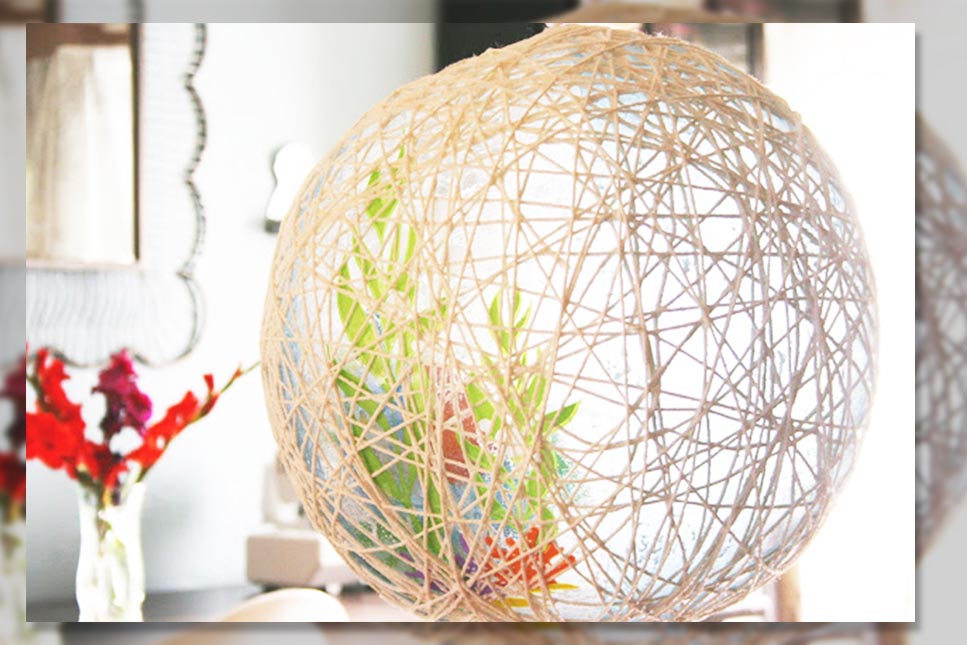
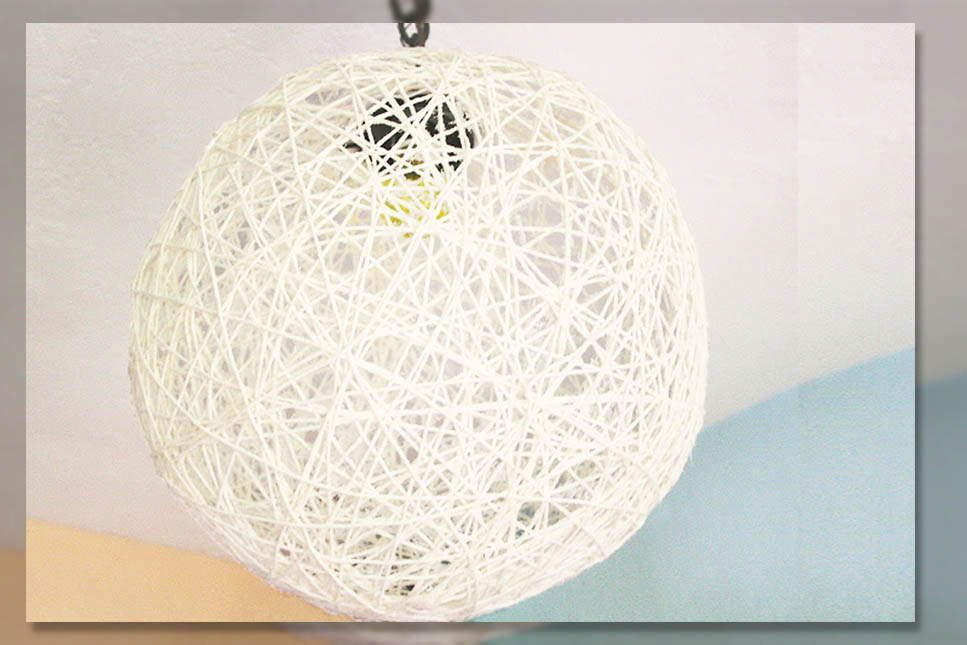
Your sting needed to be coated but not dripping. Then I just started pulling it around the ball. I found it easier to wrap from top to bottom at first, which helps to get one nice secure layer going. After that I was able to wrap in all different directions. The first layer was the most difficult for me and took the most time. After that it was a breeze. Be sure to leave a “hole” at the top that is just a little smaller than the light you will be using with it.
Let dry
And let it dry for a looong time. After about 8 hours I was convinced my method was a colossal failure because it still felt really pliable. But the next day I woke up and it was dried and had completely firmed up.
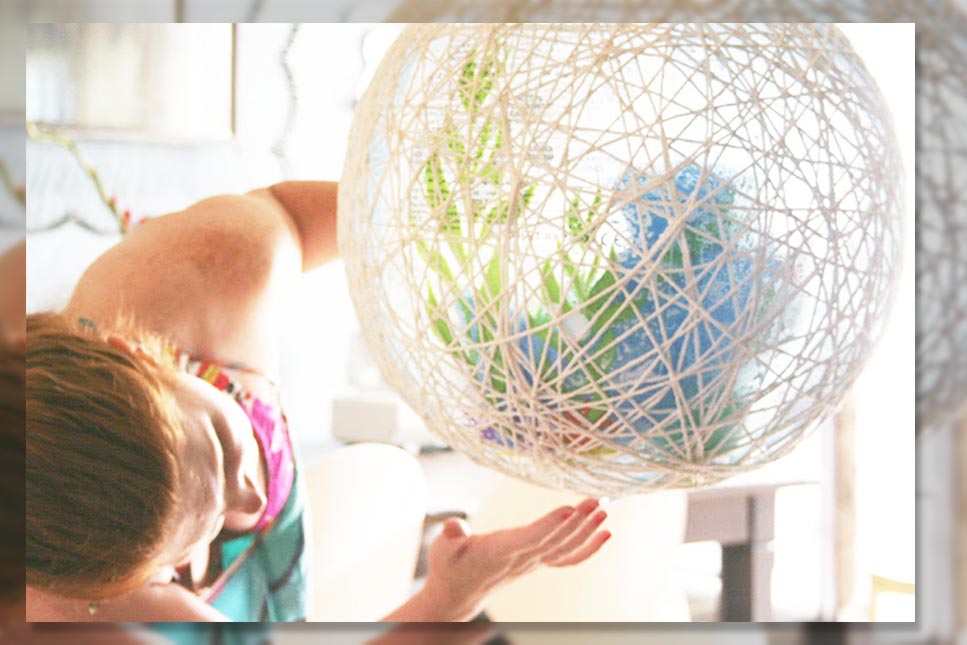
Now you can pull you pendant down and start to let the air out of your ball. I put mine over an existing light fixture so what I did first was to cut a small circle in the top of the string pendant a bit smaller than my light fixture. After that you can reach your arm in to get the rest of the air out of your ball or pull out your balloon.
Finishing
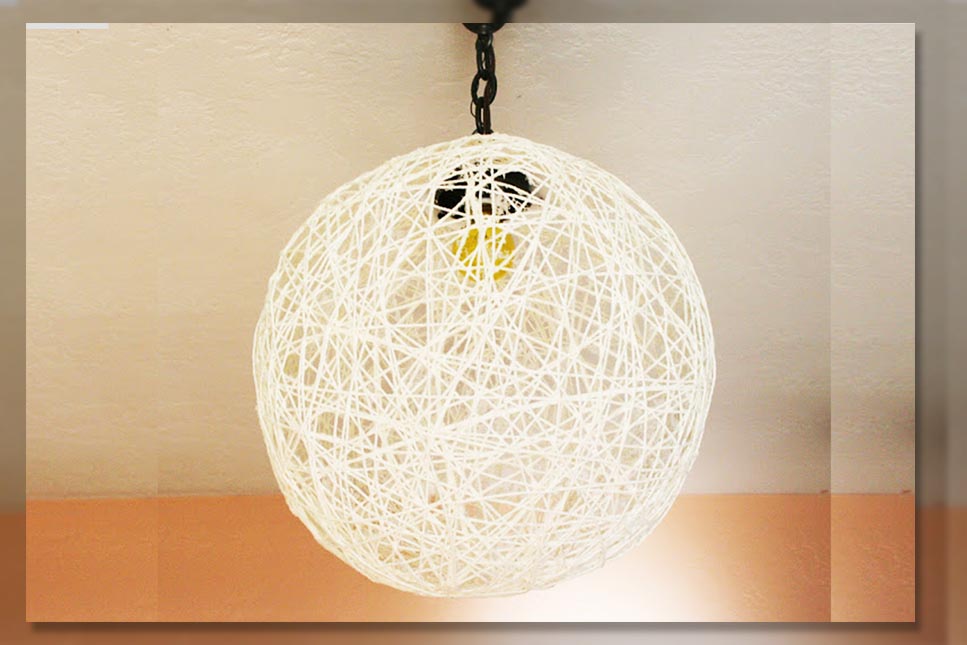
I also made an insert (out of a piece of plastic) for the pendant light that was a bit smaller than the light fixture but about 3 inches wider than the opening of the hole I had cut in the top of my string light. I just stuck it on the inside of my string light opening and then placed it on my existing light fixture.
literally just pulled the string pendent up and over my fixture so that it is hanging from it. This is where the little insert came in handy, it helped to give the pendant some support so it wouldn’t come crashing down. That would be really sad after all that work!
PS I also put a low wattage lightbulb in because I like to error on the side of caution and my light pendant isn’t in contact with the light bulb at all; there’s a few inches of clearance there.
Do you like our post ?
Could you Help Us to pin this image on your pinterest ?
Thank you 🙂