Every DIY enthusiast knows that a successful project starts with the right preparation. Installing a shower door in your bathroom can seem overwhelming, but taking it one step at a time can ensure you get a high-quality result. This guide will walk you through every part of the process from start to finish so that when it’s all said and done, you will have completed a professional-looking installation in your bathroom.
Table of Contents
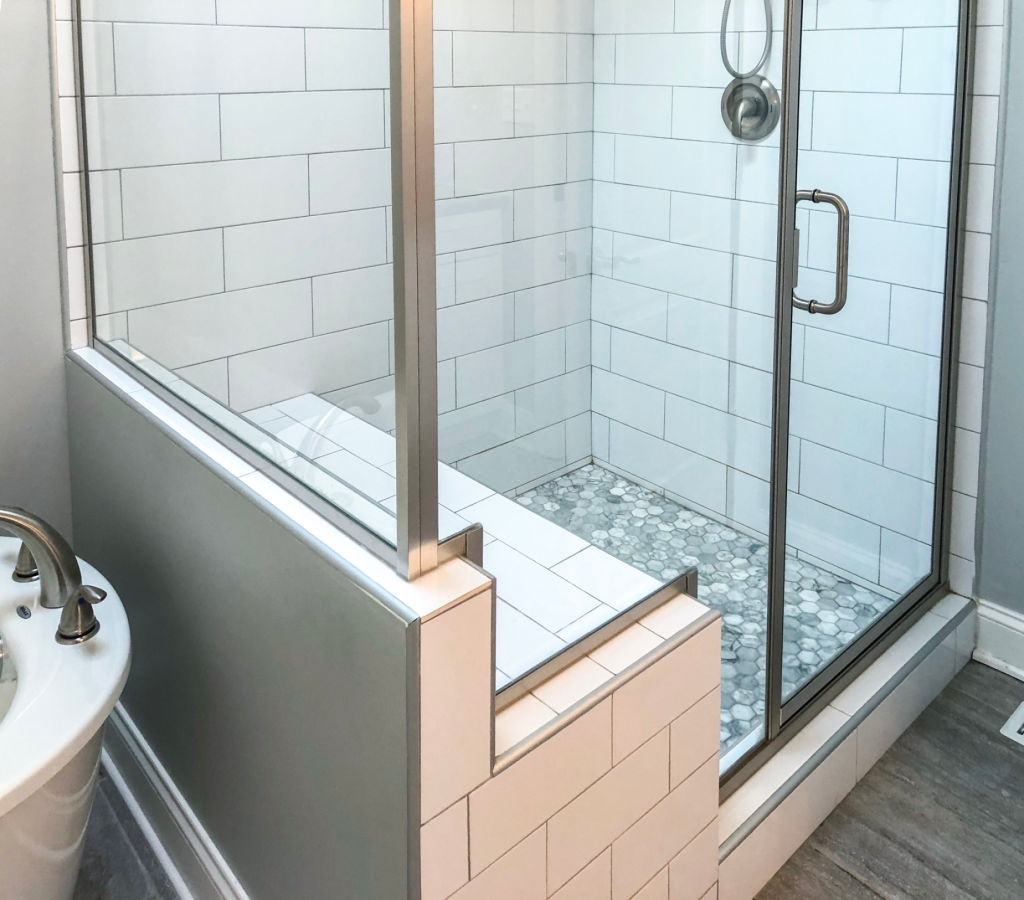
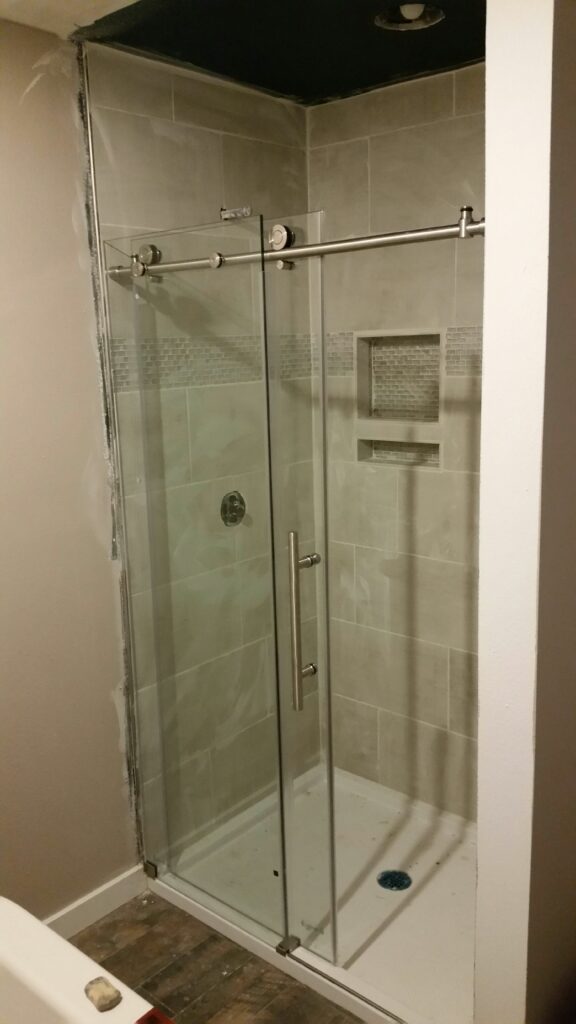
Step-by-Step Shower Door Installation
Before diving into the steps, remember that patience and precision are integral to the installation process. Be prepared to measure multiple times, analyze every angle, and ensure perfect alignment before securing anything permanently. This could be the difference between a seamlessly functioning shower door and one that causes constant issues.
Step 1: Gather Your Materials
Start by assembling all the tools and materials you’ll need for the project. This includes the shower door kit, a tape measure, level, drill, bits, stud finder, and silicone caulk. Having everything at hand before starting lessens the chance of unnecessary interruptions.
Step 2: Measure and Mark
The next step is to measure the opening where you’ll install the door. Use your tape measure to get the width at the top and bottom and the height on both sides. Mark the drill points for the frame based on your measurements.
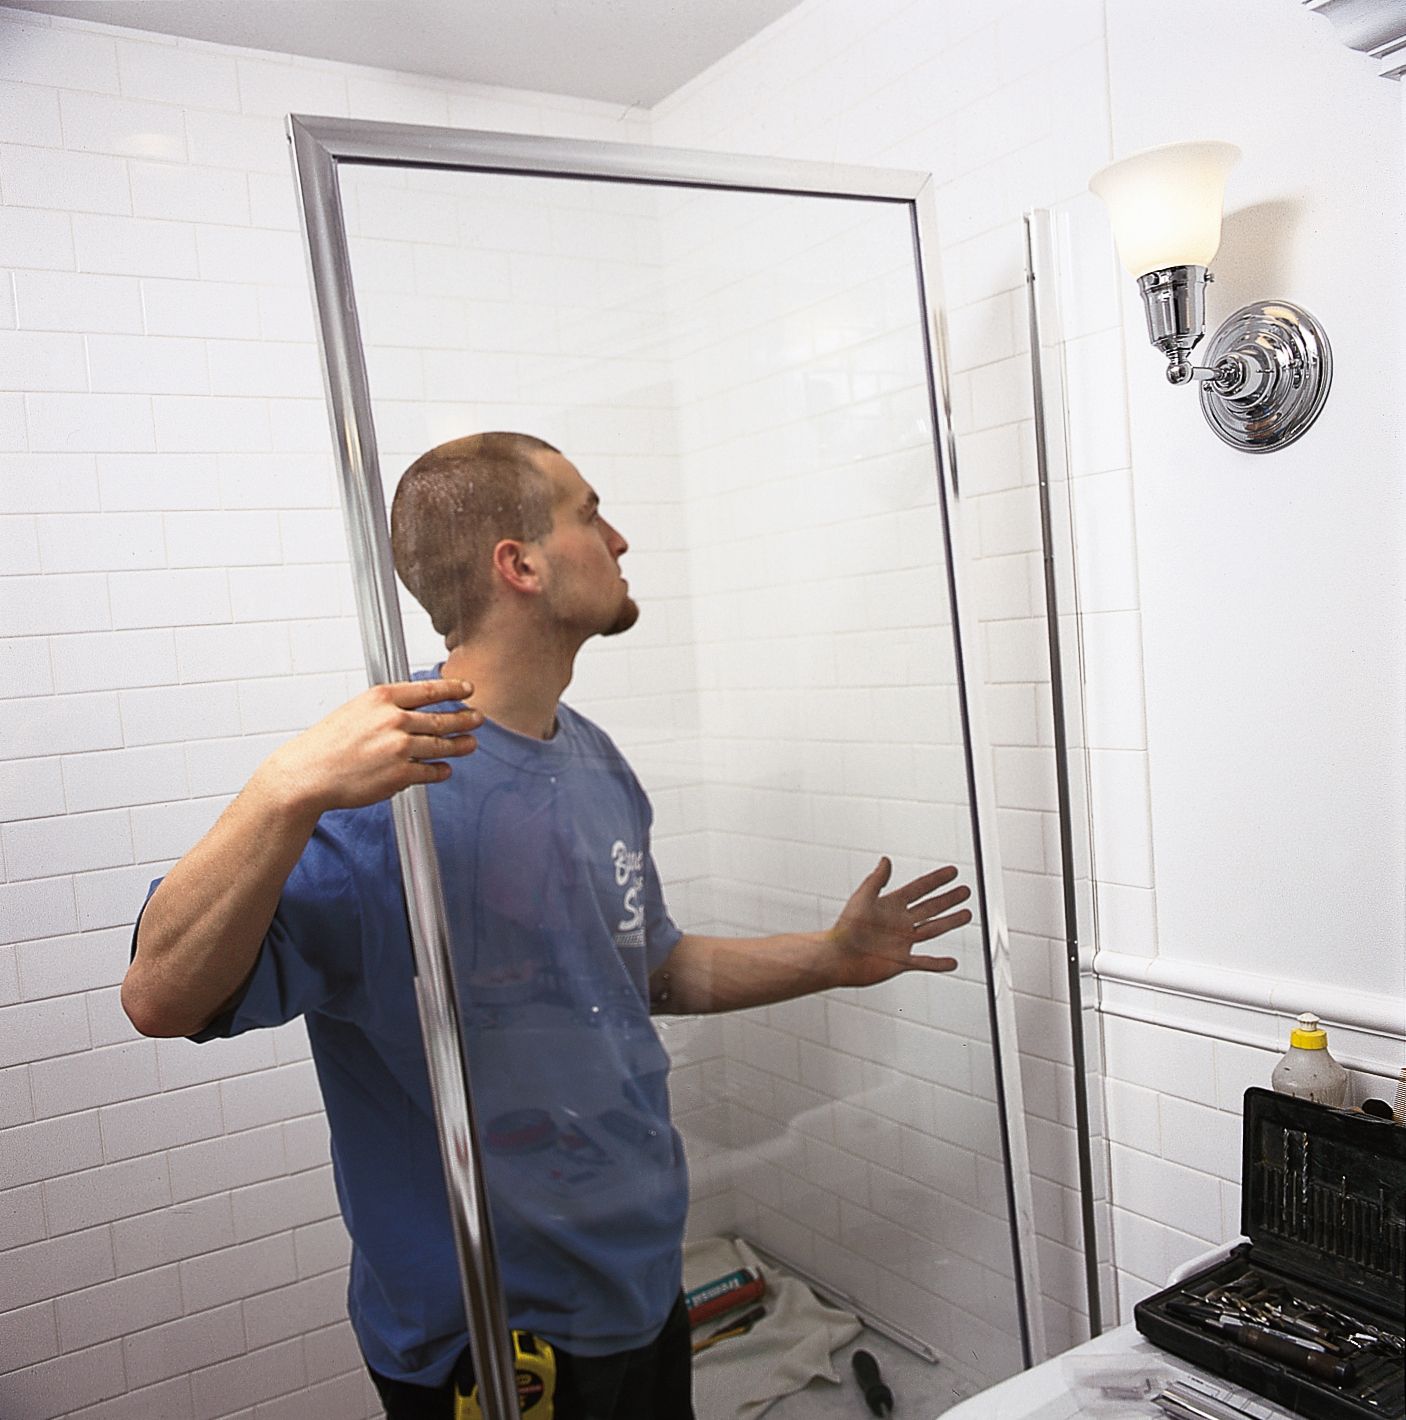
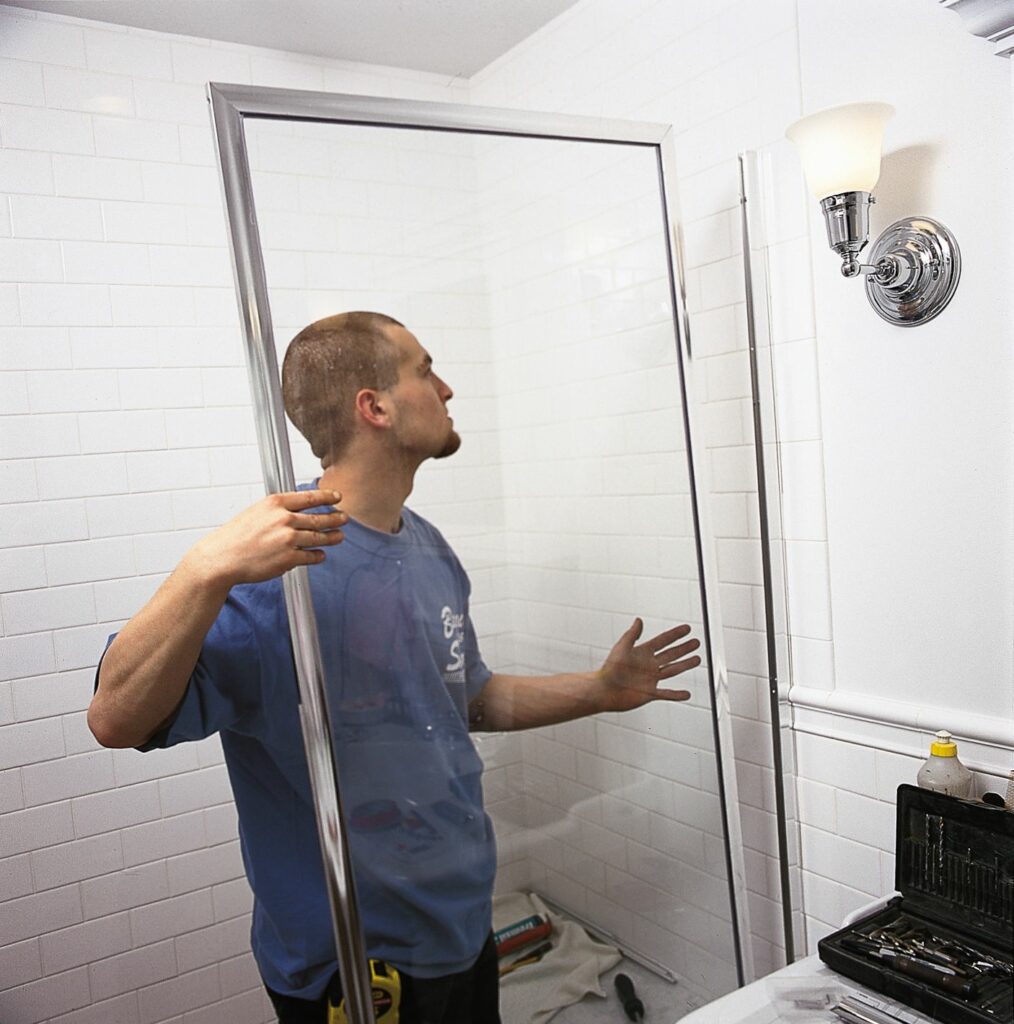
Step 3: Install the Frame
Using the drill points you marked, install the frame for the door. It’s crucial to ensure it’s level – a skewed frame will result in a poorly functioning door. Use a level to check this before you secure the frame in place.
Step 4: Hang the Door
Once the frame is securely installed, it’s time to hang the door. Depending on the type of door, you may need to attach hinges to the door and frame or install a track at the top of the frame for the door to slide on.
Step 5: Install the Door Handle and Seal the Door
Lastly, install the door handle and apply silicone caulk to seal the door. Apply the caulk where the frame meets the wall and at the inside base of the frame to prevent any water leakage. Allow the silicone to cure for 24 hours before using the shower.
Common Shower Door Installation Mistakes to Avoid
While DIY projects can be immensely satisfying and potentially save you money, they’re also rife with opportunities for mistakes, especially for beginners. Shower door installation, in particular, presents several common pitfalls that can result in a less-than-perfect result. But don’t worry – forewarned is forearmed! Knowing these common mistakes can help you avoid them and ensure a smooth, successful installation.
Incorrect Measurements
One of the most common mistakes in shower door installation is incorrect measurements. Always remember that “measure twice, cut once” adage. If your measurements are off, even by a little, the door might not fit correctly, leading to functional issues and leaks.
Not Checking for Plumb
It’s critical to ensure that the walls where you attach the shower door are plumb (vertically level). If they aren’t, you may face difficulties during the installation and end up with a door that doesn’t open or close properly.
Over Tightening Screws
While it’s important to ensure everything is secure when installing your shower door, overtightening the screws can actually cause damage. This could lead to cracked tiles or a distorted frame, which can compromise the door’s integrity and cause functioning issues.
Skipping the Sealant
The sealant is your main defense against water leaks around your shower door. Skipping this step or doing a rushed job can result in water damage over time, which can be expensive to repair.
Not Following Instructions
Each shower door has its own unique installation process. Not following the specific instructions provided with your shower door kit can lead to a host of problems, from improper installation to voiding the warranty. Always take the time to read and understand the directions before beginning the installation.
Additional Tips for a Smooth Installation Process
Navigating the world of DIY can be a rewarding yet challenging journey. A successful shower door installation project hinges not only on executing each step but also on the knowledge of best practices and additional tips that can make your job easier and improve the final outcome. With this in mind, let’s explore some advice to help you navigate this DIY project more confidently and efficiently.
Give Yourself Enough Time
Often, DIY enthusiasts underestimate the amount of time a project can take. Allocate ample time for the installation process, and remember that it’s okay to spread the work over a couple of days if needed. Rushing through the installation can lead to mistakes.
Invest in Quality Materials
Opting for the cheapest materials can lead to poor results and even increase your costs in the long run. Investing in quality materials, including a high-quality door, sealant, and tools, can ensure a smoother installation and a more durable, long-lasting result.
Double-Check Level and Alignment
Just as the saying goes, “measure twice, cut once,” double-checking level and alignment is critical. Use a spirit level to verify the alignment of the door and frame. Don’t rely solely on your eye – even slight misalignments can lead to major issues later.
Take Care of Your Tools
Proper tool maintenance can make a significant difference in your DIY experience. Keep your tools clean and in good working order. Sharp, well-maintained tools are safer to use and can provide more precise results.
Seek Help if Necessary
Don’t hesitate to ask for help if you’re unsure about a step in the process. It’s better to get a second opinion or ask an expert than to risk making a costly mistake. There are plenty of forums and resources online where you can get advice and guidance.
Also, sometimes, it is better to hire a professional for more complex installations, especially if you don’t have experience with similar projects. Contact glass professionals in Plano if you’re not comfortable with the installation process.
Conclusion
A DIY shower door installation is a challenging but rewarding project that can save you money and improve your home. By following the steps outlined in this guide and avoiding common mistakes, you’ll be well on your way to a successful installation. With the additional tips and best practices provided, we hope that your DIY experience will be smoother and more enjoyable.