After a long, tiring day at work, all you want is a long bath and to pamper yourself in essential oils and bubbly soaps. However, all that ooey-gooey goodness goes down the drain if your bathtub is not in good working condition.
While I love to stick my feet up against the tub rim and lay my head against the edge of the basin, cracks or chips appearing from nowhere in the tub might throw me off. That sounds like a nightmare, but now, it doesn’t have to be.
Below, we are going to take a look at some common and uncommon bathtub issues you should expect if you have a tub in your bathroom whether it is an extra large freestanding tub, Jacuzzi or alcove tub. Hang on before calling the plumber or handyman, because I’ve got you covered!
Fixing 7 Common Bathtub Repair Issues
Below is a list of the seven most pesky hardships bathtub owners face. Read below to find out about all the bathtub problems you may face and how to resolve them:
- Leaky Faucets
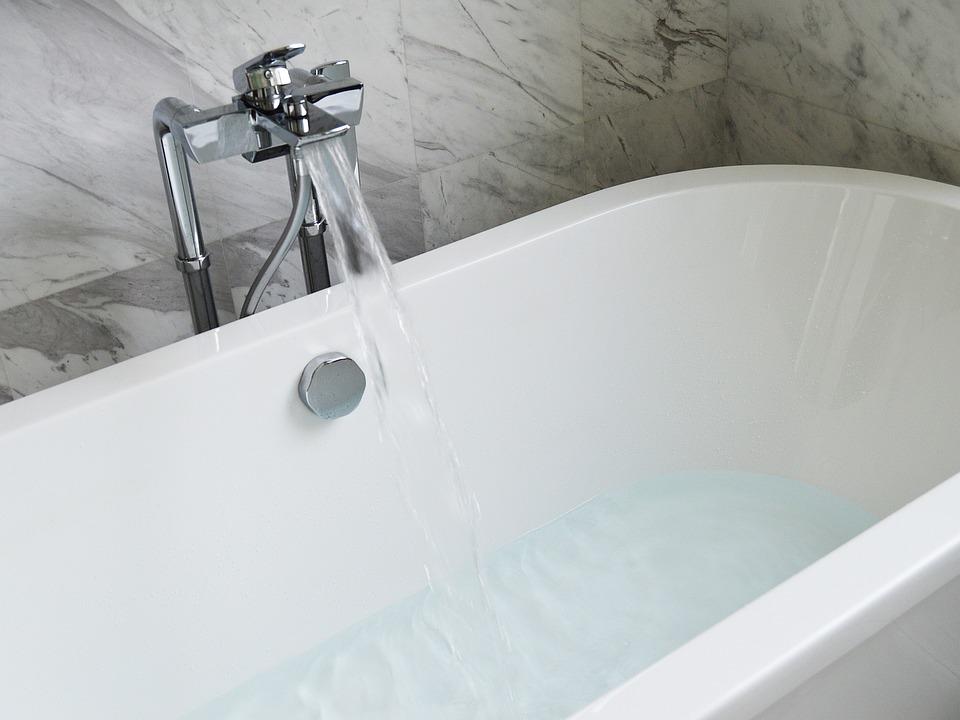
Image Credit: Pixabay
A leaky faucet, dripping slowly day and night, is enough to drive one crazy. Bathtub faucets are a common source more often than not. Apart from the annoying sound, the water will corrode and stain your tub.
I find replacing the rubber washer inside the faucet does a world of good. A worn-out washer is usually the culprit. Take apart the faucet, replace the washer with a new one, and you are good to go.
- Chipping
If you own a cast iron or steel tub, you’ll see that it is usually hardier than your typical acrylic or fiberglass ones. But that doesn’t mean you won’t face the occasional chipping here and there. The protective coating of porcelain or enamel allows water to get in through the dings and cracks, causing rust.
What I like to do is to clean the area with alcohol, mark it off with masking tape, and apply epoxy putty. Remove the tape and smooth down any ruffled edges. Let it set for 24 hours or more and sand the area to match the color of your tub.
- Discolored Bathtub
After all, soaking yourself in the tub also leads to good sleep, and that is just what you need! I find there are very few other ways to help you loosen up and bring back that spring in your step at the end of the day.
But if your tub is discolored, arm yourself with vinegar and baking powder or all-purpose cleaner, and get to scrubbing. Check out this article to find out how to treat your tub according to the material. Remember, the type of cleaner you use depends on what your tub is made of. You need to tailor your cleaners according to your tub.
- Drain Tub Flange
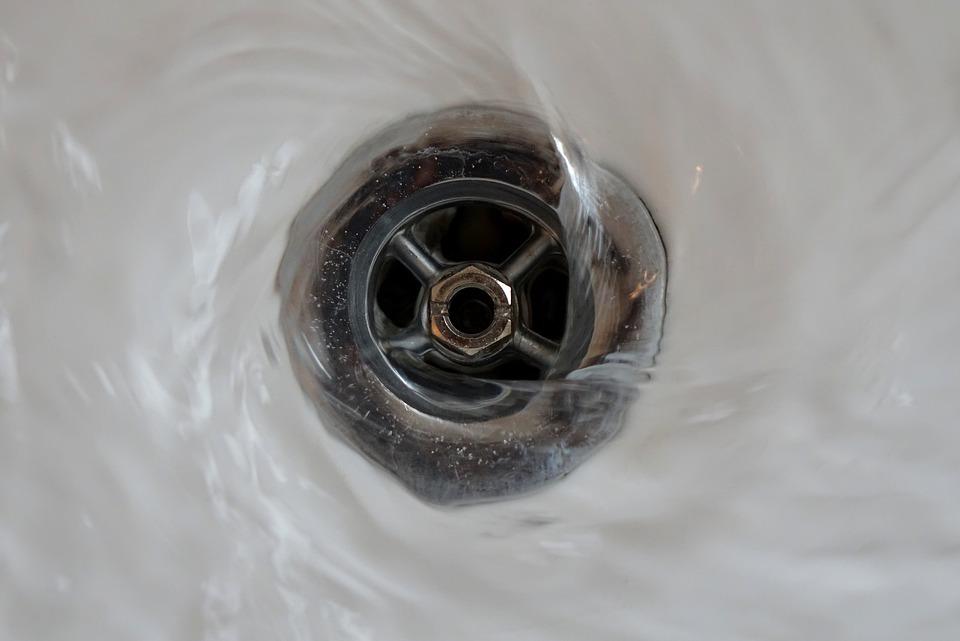
Image Credit: Pixabay
Damages around the drain require more precision than any other area in the tub. I always make it a point to check the flange since any issue around the drain region will make the tub unusable. You can get to the drain flange by removing the drain stopper counterclockwise. If there is a screw attached to it, remove that too.
Next, insert a drain turner and move it clockwise with a screwdriver or a wrench. Take out the flange and remove the rubber grommet and the putty. Repair the damages or consider replacing it if it is corroded. Reinstall a new grommet and putty into place and screw the flange back on tightly.
- Peeling Tub
How do I get off the peeling from my tub when the time comes? Easy – simply clean the tub, spray epoxy to soften the peelings, and peel it off. Rinse off your tub, degloss it, and repair all damages with the epoxy repair kit. After it dries off, start painting and keep coating until you get an even tone.
Dry it off for the recommended number of days and your tub is as good as new.
- Patching a Reglazed Tub

Reglazing a tub might sound like a headache waiting for you, but the road to achieving it is pretty simple. It is better to request professional help to reglaze your tub. However, if you want to save a penny, you can do it yourself.
The most crucial step is to find a patching compound that will imitate the color of your tub the most. Clean the affected area with a non-abrasive household cleaner. Mix the resin and hardener to produce the color you need, apply it using a palette knife, and let it cure completely.
Let it dry, sand the area, and then coat the entire tub with a mixture containing epoxies, urethanes, polymers, or hybrid polyester-polyurethane blends. Let it dry for 24 hours or more, and apply the second coating.
- Refinishing a Finished Tub
When I was planning to upgrade my tub, I decided to refinish the old one instead of throwing it away. It saved me a penny and my tub looked as good as new.
Repair all cracks with a heavy-duty patching compound and clean it with an abrasive. Remember to remove all metal hardware first. Sand the tub, polish off the dust, and apply the paint. After a few rounds of coats, reattach the hardware and cure it completely before using it.
Final Thoughts
I hope now you know how to fix some of the most common repair issues of your bathtub. My tips are super easy to follow and can be accomplished even without professional help.
However, if you still need help, feel free to contact a plumber. Besides repairing the tub, make sure to keep it clean at all times so that you can relax in your tub without having to worry about germs and bacteria.