Nickel polishing is one of those small skills that can completely change how a metal surface looks and feels.
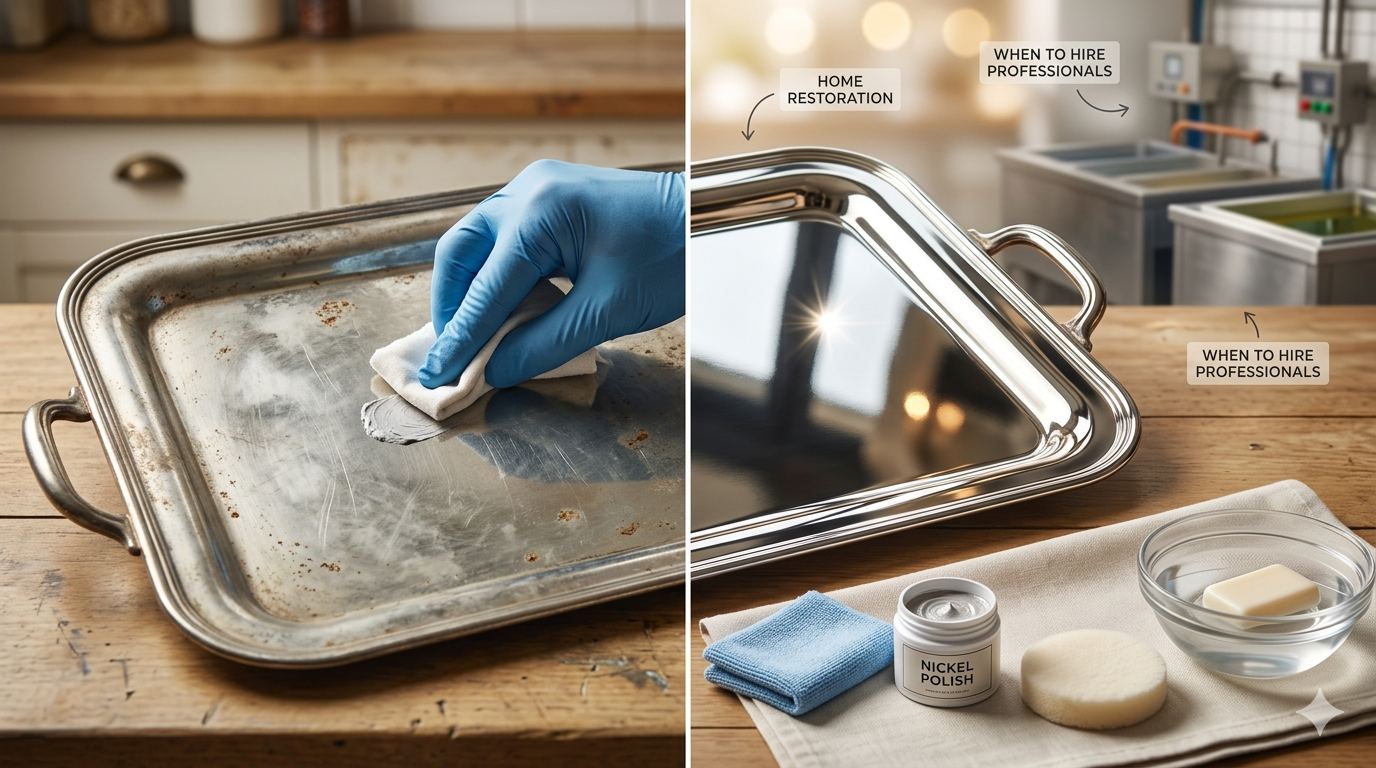
I learned this the hard way when I found an old nickel-plated tray in my grandmother’s kitchen that looked beyond saving.
It was dull, cloudy, and covered in tiny scratches that made it look like it belonged in a scrap pile.
A little patience and the right approach turned it into something that looked almost brand new.
That experience taught me that restoring metal isn’t about magic products.
It’s about technique, timing, and knowing when to stop.
Table of Contents
Why nickel surfaces lose their shine over time
Nickel plating is durable, but it isn’t immune to wear.
Every day use slowly breaks down that clean, reflective finish.
Air exposure leads to oxidation.
Moisture creates spotting.
Fingerprints leave behind oils that build up over time.
I’ve seen this happen on everything from kitchen fixtures to motorcycle parts.
In most cases, the damage isn’t serious.
It just looks worse than it actually is.
That’s why surface restoration can make such a big difference.
The first time I tried restoring a dull surface
I remember grabbing a random cloth and some household cleaner, thinking it would do the job.
It didn’t.
The surface looked slightly better, but the haze was still there.
That’s when I realized I needed a proper polishing compound and a softer approach.
I switched to a microfiber cloth and a gentle metal polish.
Within minutes, I saw the reflection come back.
Not perfect, but noticeably better.
That moment changed how I approach metal care.
Tools and materials that actually work

You don’t need expensive gear to get started.
What matters is using the right combination of materials.
Here’s what I keep on hand now:
- Microfiber cloths that won’t scratch the surface
- A mild polishing compound designed for plated metals
- Soft buffing pads for even pressure
- Warm water and a gentle soap for pre-cleaning
I avoid anything abrasive unless the surface is heavily damaged.
Even then, I use it sparingly.
Too much pressure can remove the plating itself.
Step-by-step approach that makes a difference
The process is simple, but consistency is everything.
Start by cleaning the surface with warm water and mild soap.
Dry it completely to prevent water spots.
Apply a small amount of polish to a cloth.
Work in small circular motions across the surface.
Don’t rush this part.
Let the compound do the work instead of pressing harder.
Wipe away residue with a clean cloth.
Repeat if needed, but stop once the shine returns.
I’ve found that over-polishing can actually dull the finish again.
If you want a deeper understanding of techniques and finishes, this guide on
nickel polishing explains the process in more detail.
Common mistakes people make
Most people go wrong in the same few ways.
They use rough cloths that leave micro-scratches.
They apply too much product, thinking more equals better results.
They scrub aggressively, which damages the coating.
I’ve done all three at some point.
The biggest lesson I learned is that gentle, repeated passes work better than force.
When DIY methods aren’t enough
There are times when home methods just don’t cut it.
Deep scratches, peeling layers, or uneven discoloration usually mean the plating is compromised.
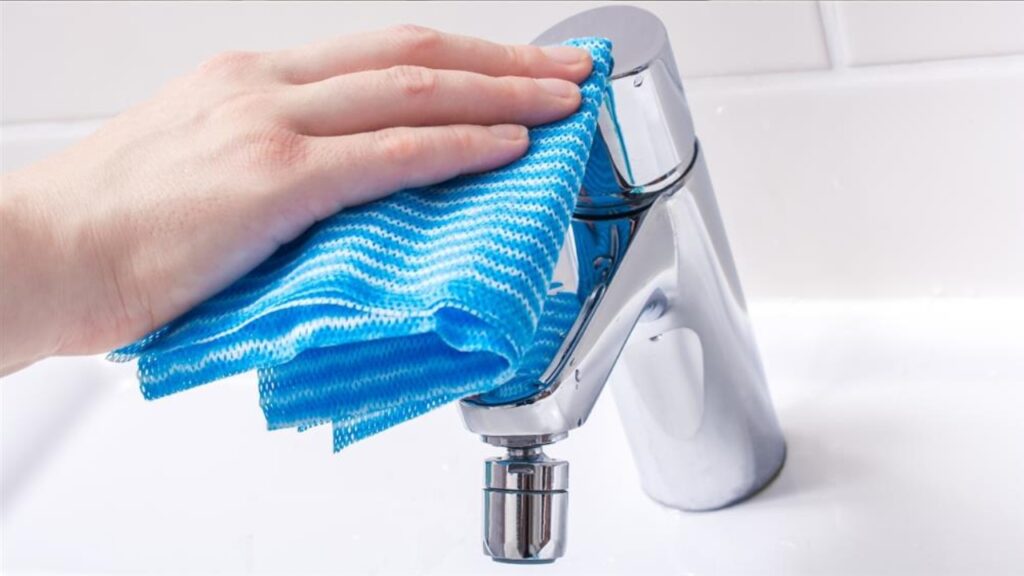
I once tried fixing a badly worn faucet for hours with no real improvement.
That’s when I realized I was working on damage that needed professional refinishing.
Professionals have equipment that can re-plate and restore surfaces at a deeper level.
They don’t just clean the surface.
They rebuild it.
Signs you should call a professional
It’s not always obvious when to stop trying at home.
Here are a few signs I now look for:
- The surface has visible pitting or corrosion
- The shine doesn’t return after multiple attempts
- There are patches where the coating looks uneven
- Scratches feel deep when you run your fingernail over them
If you notice these, it’s usually more cost-effective to get expert help.
Real-life example that changed my approach
A friend once brought over an old bike handle that had completely lost its shine.
We spent an afternoon working on it with basic tools.
It improved, but not by much.
Later, he had it professionally restored.
The difference was night and day.
That experience taught me that knowing your limits saves time and frustration.
How to maintain the shine after polishing
Restoring the surface is only half the job.
Keeping it that way takes a bit of routine care.
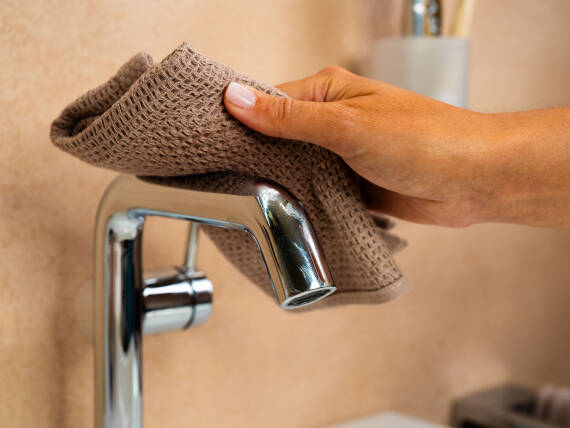
I now follow a simple maintenance habit.
Wipe down metal surfaces after use to remove oils.
Avoid harsh chemicals that strip the finish.
Store items in dry environments to prevent moisture buildup.
These small steps keep the surface looking polished for much longer.
The balance between effort and results
One thing I’ve noticed is that people either overdo it or give up too quickly.
The best results come from a balanced approach.
Put in enough effort to restore the shine.
Stop before you risk damaging the surface.
And recognize when a professional can do it better.
That balance is what turns a frustrating task into a satisfying one.
Read More : 5 Reasons to Invest in Blinds Installation in Sydney for Modern Homes
Final thoughts from hands-on experience
Working with metal surfaces taught me patience more than anything else.
You can’t rush the process.
You can’t force a shine to appear.
But when you get it right, the result feels worth every minute.
That old tray from my grandmother’s kitchen still sits in my home today.
It reminds me that even the dullest surfaces can come back to life with the right approach.
And sometimes, all it takes is a bit of care and the willingness to learn from trial and error.